
If you need a longer exposure then stars will appear as trails.
For exposures of more than ~30 seconds you will image star trails rather
than points of light. There are two solutions:-
- Take several short exposures & add them together.
- Guide the camera
If you take several short exposures the images can be
stacked in many image processing programmes. You might try
the freely available
Deep Sky Stacker.
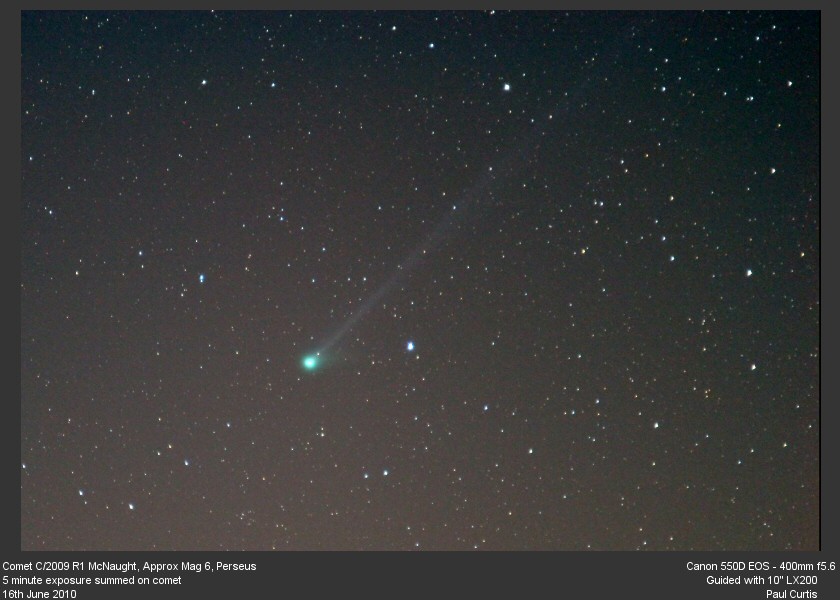
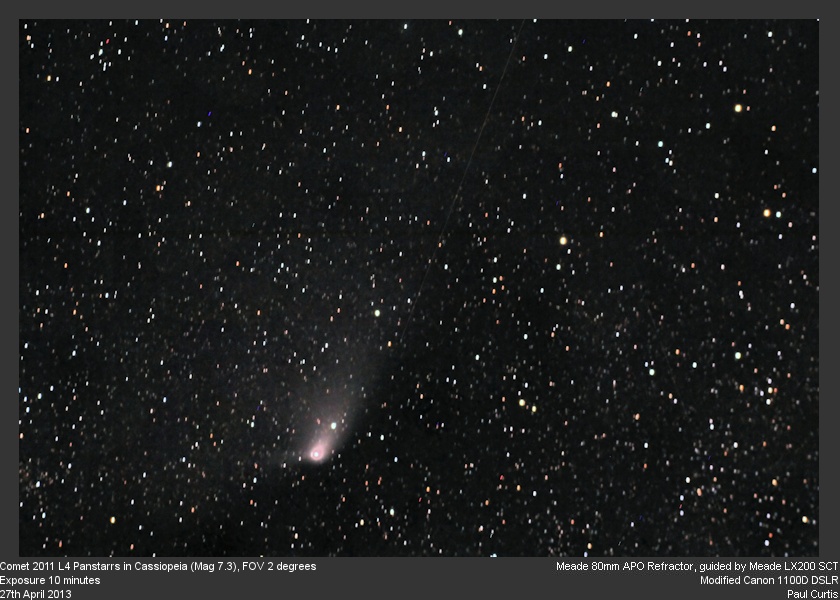
Comets are good targets for stacked images -
The easiest way is to attach your camera to your telescope if it has an equatorial drive. Then the 'scope will drive the camera and the scope in synchronisation with the earth's rotation. If you don’t have a scope you can purchase a guider, such as the Vixen Polarie or the Astrotrak, but note they are not cheap !
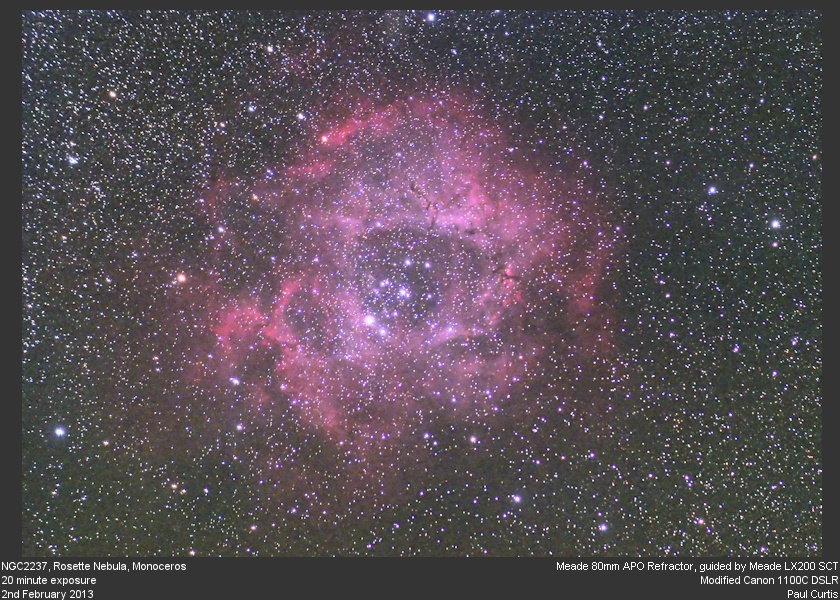
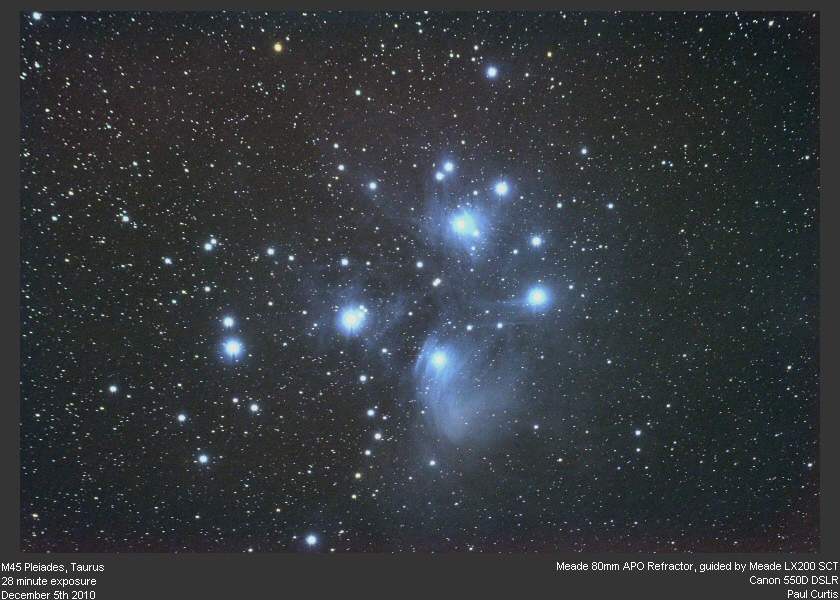
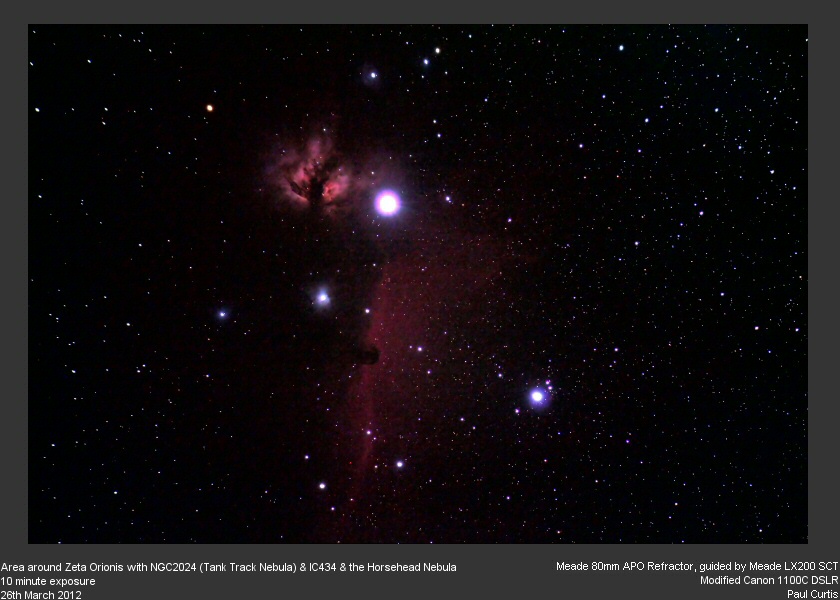
Using a telescope with an equatorial drive, attach the camera to the telescope. You can purchase custom brackets to do this or try some duct tape first, but be careful not to drop the camera ! This configuration uses the telescope to guide the camera and keep it pointing to the same area of sky. Images up to 3-5 minutes are achievable before background skyglow is an issue, depending on how bad the light pollution is at your site. I have also used a 400mm telephoto lens to zoom into smaller areas of sky – this gives me a field of view around 3-4 degrees across. Also I have used an 80mm refractor piggybacked on my main scope – the following images were taken this way. But note the higher the magnification (the smaller the field of view), the more accurate your telescope drive has to be. If you start getting star trails, then your telescope drive is not accurate enough and you should try using a lower magnification or lower zoom.


As exposures get longer, noise becomes more of a problem, Astronomical Cameras have cooled chips to avoid this problem, The noise is quite low for the Canon chip – but even better in winter when it is colder ! Note the ‘Dark current noise’ doubles for every 6-8C temperature rise. And the chip temperature tends to be from 8-15C higher than ambient in semi continuous use. Letting the camera cool down to ambient before use will help, but the chip will warm up in use. In hot summer weather I have found that a DSLR can become unuseable. For example is Summer 2012 on one particular evening the air temperature was still >20C, the CCD chip temperature was reading 28-30C and the noise was unacceptable !! Can this be solved ? Can the sensor chip be cooled ? There are issues – condensation, the lcd screen, warranty etc. There are some examples of homemade DSLR coolers on the internet which cool the camera down. One example is that by Christopher Vedeler from Arizona - http://www.aznightsky.com/Coldbox.htm. It’s a copper box (high thermal conductivity) housing the camera which has a peltier cooler on the back and the whole thing is insulated with polystyrene foam. He claims a ΔT of around 20C. Nowadays there are commercial cooler boxes available for DSLRs - see for example the one by Orion, which sells for around Ł400 in the UK. It is available for the latest Canon models only but gives a ΔT of around 43F.
One way of removing some of the noise in your images is during image processing. It is worth trying Neatimage which is a great noise reduction programme. It is available as a standalone programme or a plug in for photoshop. This reduces high ISO noise produced by image sensors of digital cameras, film grain visible in scanned images and JPEG artifacts. A free version with reduced functionality is available at www.neatimage.com.
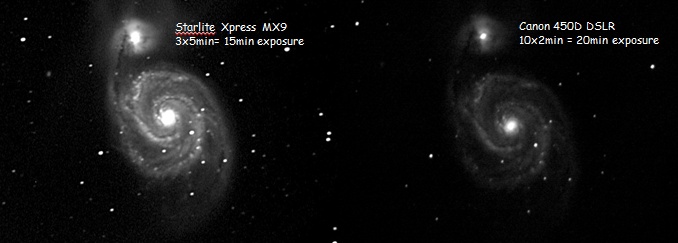
Another factor is the sensitivity of the sensor chip in DSLRs cf Astronomical Cameras. Clearly it depends what sensor chip is used, but generally my experience has shown that DSLR chips seem to be less sensitive that those in dedicated, cooled astronomical cameras. This means you will need longer exposures to get the same image brightness. But don't worry, you can still do a lot on imaging with that and also have images of multi-megapixel quality.
DSLRs are designed for land use and highly uniform illumination across the field of view is unnecessary. What the manufacturers provide is easily good enough for everyday use. But for an astronomical image we will ‘stretch’ the image to maximise contrast and depth of image to bring out detail and faint structure.
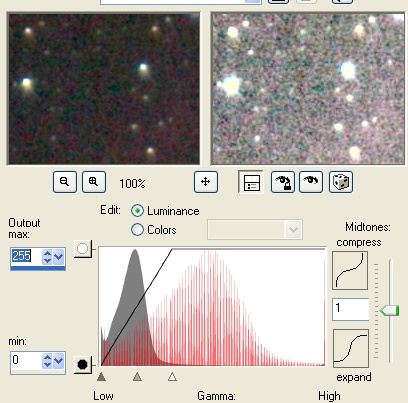 Image stretch
This is more of an issue when imaging through the scope as chip sizes are large
compared with the scopes' image circle. This can cause issues with vignetting
and illumination of the corners of the chip. This accentuates non-uniform
illumination – usually the corners of the images appear slightly darker. The
solution is to take an image of a uniformly illuminated field like a white card.
This flat field must be taken with the optics in exactly the same configuration
as used for the image. The flat field image of a uniform illuminated surface is
then divided into the image to remove this problem using photo-processing
software.
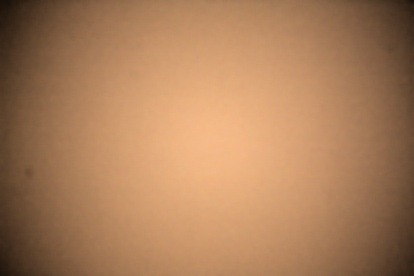 Flat Field
Multi-megapixel cameras have small pixels – typically
around 3um square. Astronomical cameras usually have larger pixels, one of the
reasons they are more expensive.
At higher magnifications (with zoom lenses) and through the scope, accurate
guidance is needed or star trails will be recorded due to small errors in the
telescope drive.
This can limit exposure times.
Other things also limit maximum exposure times. Exposures will be
limited by the following –
Light pollution – typical UK skies limit exposures to around 2 mins, although if
you have a really dark site you might achieve 3-5 minutes.
Chip noise - this is dependent on the camera Iso setting – the higher the iso
the greater the noise - I usually use iso 800 or 1600 and exceptionally 3200
when imaging meteors
Ambient temperature (see notes above).
Lens or scope used